Hello, red_one.
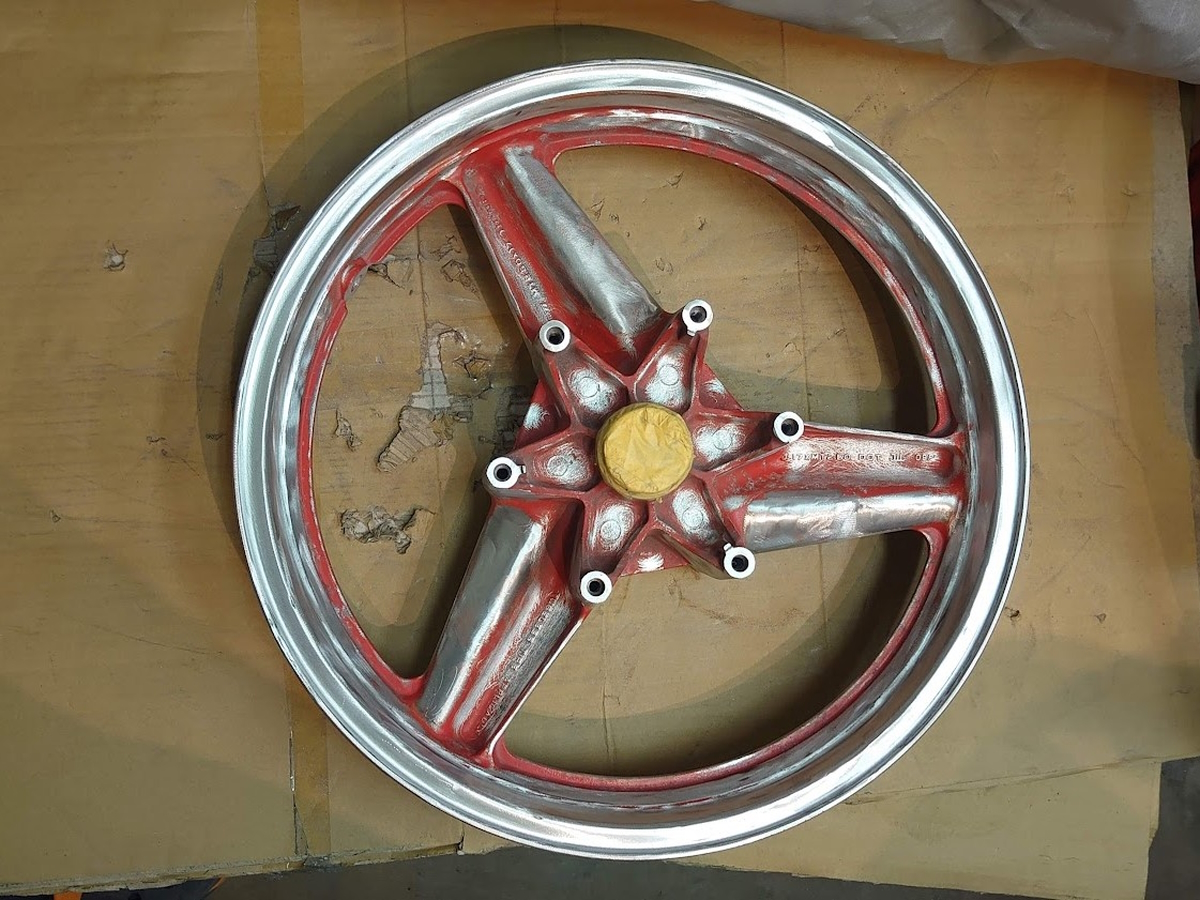
I’m reporting on how I’ve been cleaning up my battered first-generation CBR1000F (SC21) little by DIY. In this third installment, I’m going to revitalize the wheels, which are in a pitiful state of rust and peeling paint.
Generally, wheels are powder coated, which is as good as brake fluid, but since powder coating is difficult to do as a DIY project due to equipment limitations, we are trying gun coat coating again this time. We have described the gun coat in detail in the second report, so if you are interested, please refer to that report as well.
The CBR I had acquired had apparently been neglected for a long time, and many parts of the steel and aluminum were rusted, and the paint on the wheels had also been eroded by rust.
Fortunately, the depth of the rust was shallow, so we decided to remove the existing paint and prepare the surface before painting. Because of the complicated shape of the wheel, we tried sandblasting, but it was a great struggle.
The original paint was too strong to sharpen easily, so the plan was changed in the middle of the project. The plan was changed in the middle of the project. Grinding was done with a grinder using a paint-removing disc and a wire brush. I made a lot of mistakes as a novice restorer. I would like to introduce some of the mistakes I made.
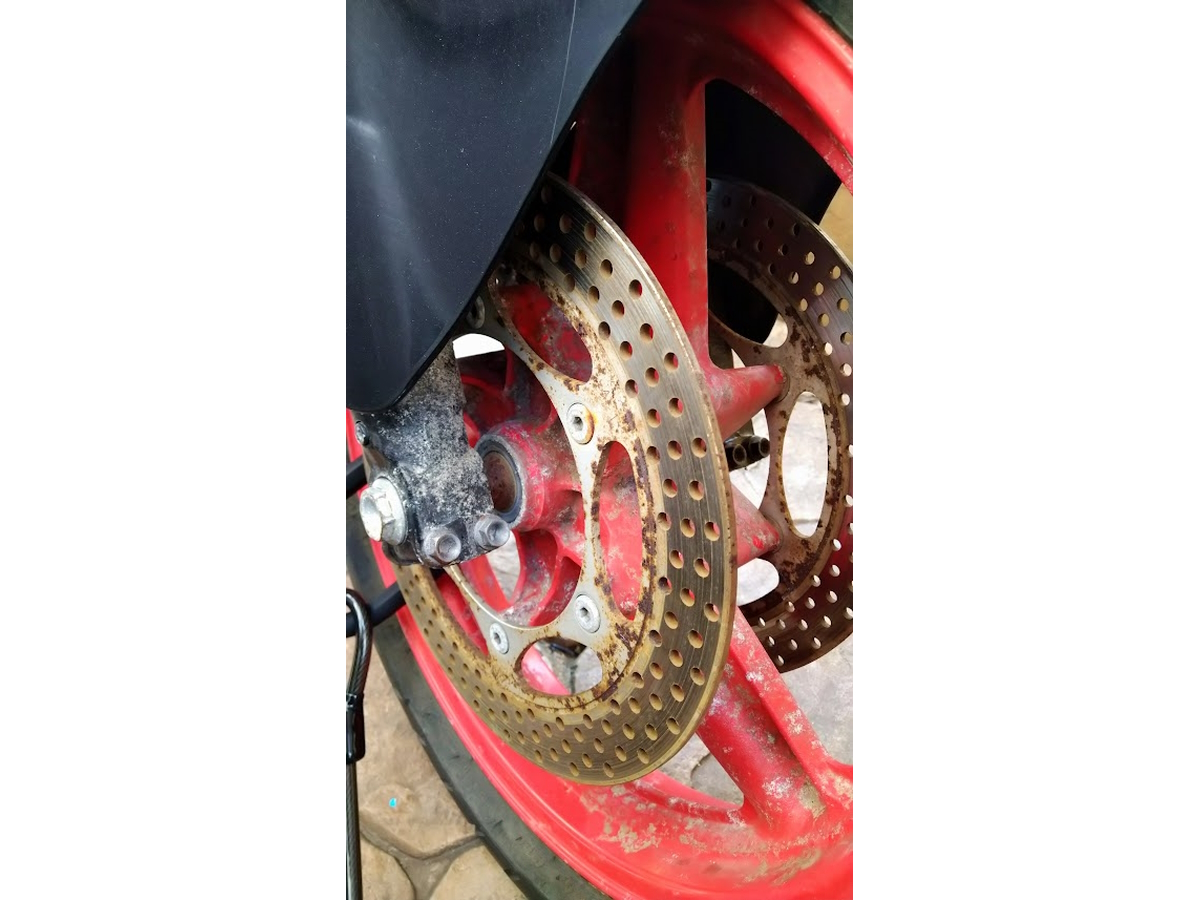
Wheels immediately after acquisition
Motorcycle wheels are important security parts.
Maintenance should be performed completely at your own risk or by an authorized store with a qualified mechanic.
- Preparation before painting
- First attempt at sandblasting
- The result was a dismal failure.
- Painted with a gun coat
-
Work Summary
- Tools and equipment used
- Purchased Parts
Preparation before painting
Originally, the wheels of the first generation CBR1000F (SC21) were supposed to be bright red, but unfortunately, they were so dirty and rusted that they were no longer visible. The tire was also flat and unusable, so the first step was to pull the tire from the wheel. At this point, I wondered whether or not to pull out the wheel bearings, but the bearings seemed to work relatively well, so I decided to give it a try. We decided to proceed with the work in the direction of masking, leaving the bearings in place, and peeling off the paint and painting.
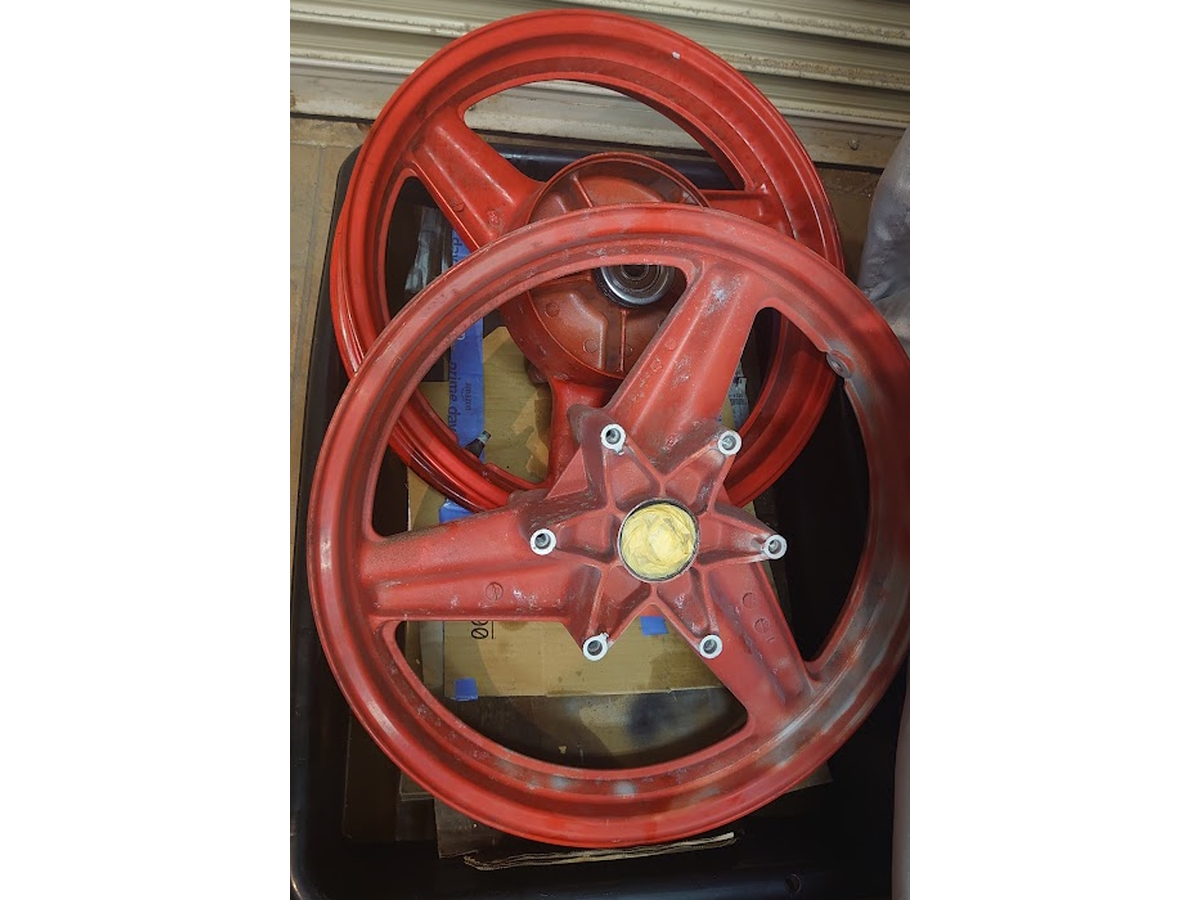
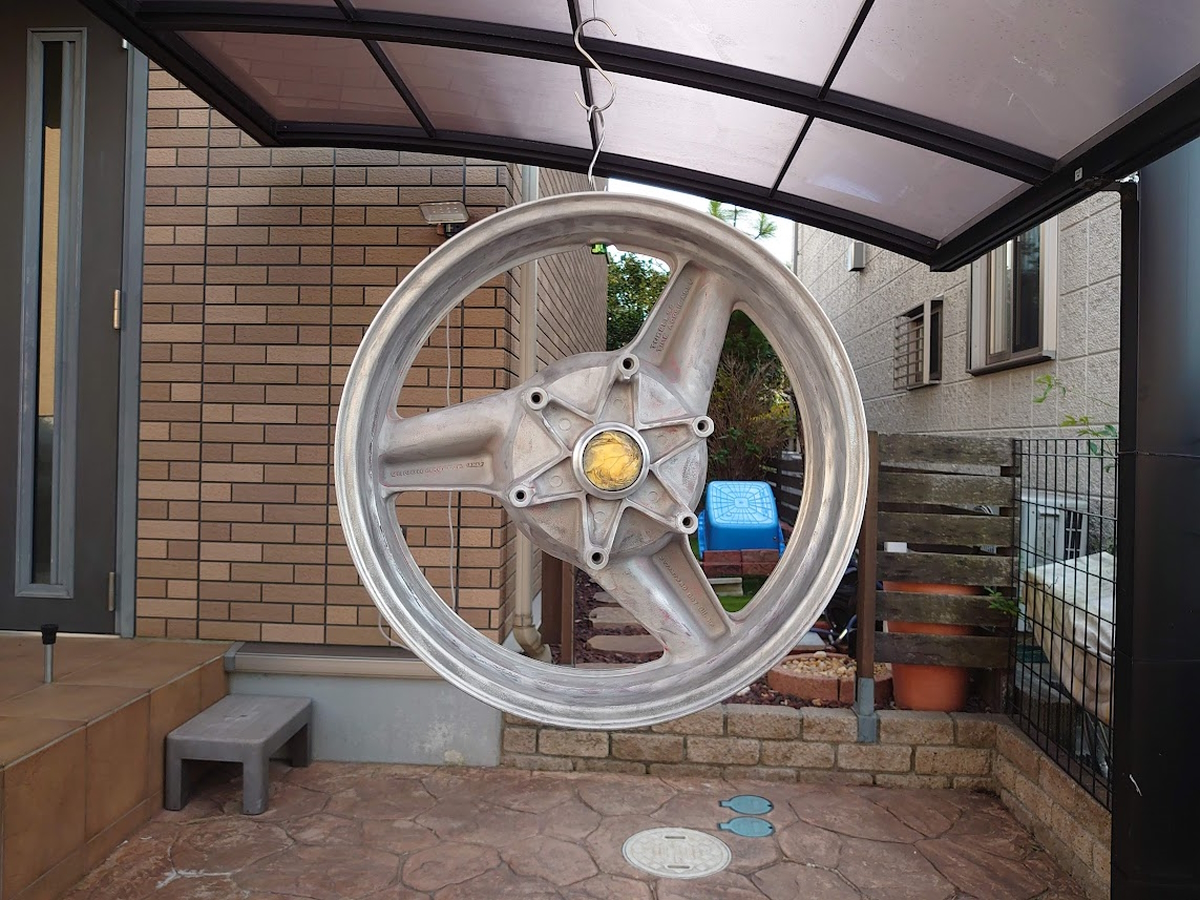
Wheel just after the start of polishing
First attempt at sandblasting
I decided that sandblasting would be a good way to remove paint from intricate areas, so I tried suction sandblasting for the first time.
I bought a very inexpensive suction sandblasting gun and about 10kg of #80 media. I think it is normal to use a cabinet when sandblasting, but when I looked on the Internet, I saw some DIY cases here and there where a clear case was machined and used as a cabinet, so I decided to give it a try.
I cut a rubber long handbag and a plastic flowerpot and attached the long handbag to the clear case to use it as a cabinet. I used two of the largest size clear cases and connected them together, especially since I was sharpening wheels this time.
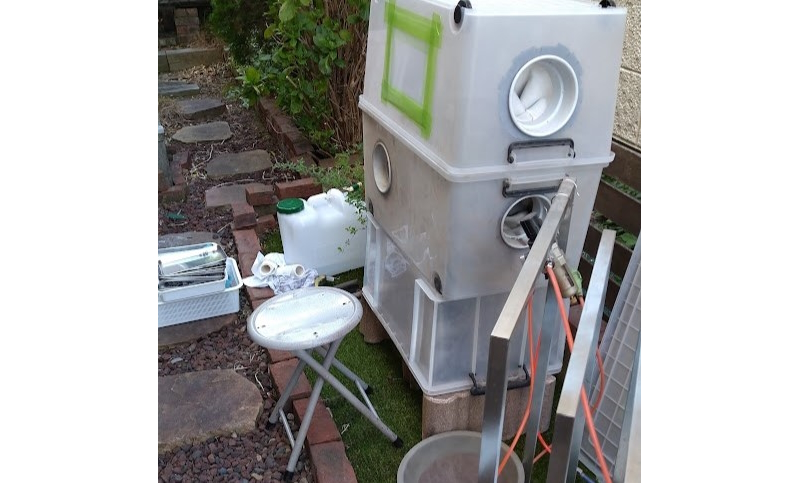
Homemade sandblasting cabinet
The result was a dismal failure.
I thought I would be able to sharpen it quickly, but the results were disastrous. The clear case did not allow me to freely change the orientation of the wheel, and the suction-type gun could not spray well on the intricate parts of the wheel hubs due to its inability to turn in a small radius. In addition, the paint on the wheels was very strong and the area was large, so the work did not progress at all and was suspended at sunset.
The next day I changed my plan to use a grinder to grind and peel off the paint.
(Incidentally, it has worked for sandblasting small parts, so it wasn’t a complete waste.)
After experimenting with various abrasive pads and discs, we settled on using a hard resin pad for the quick removal of paint and rust from large areas, a durable fiber-based disc for fine areas, and a thin wire brush for deep areas.
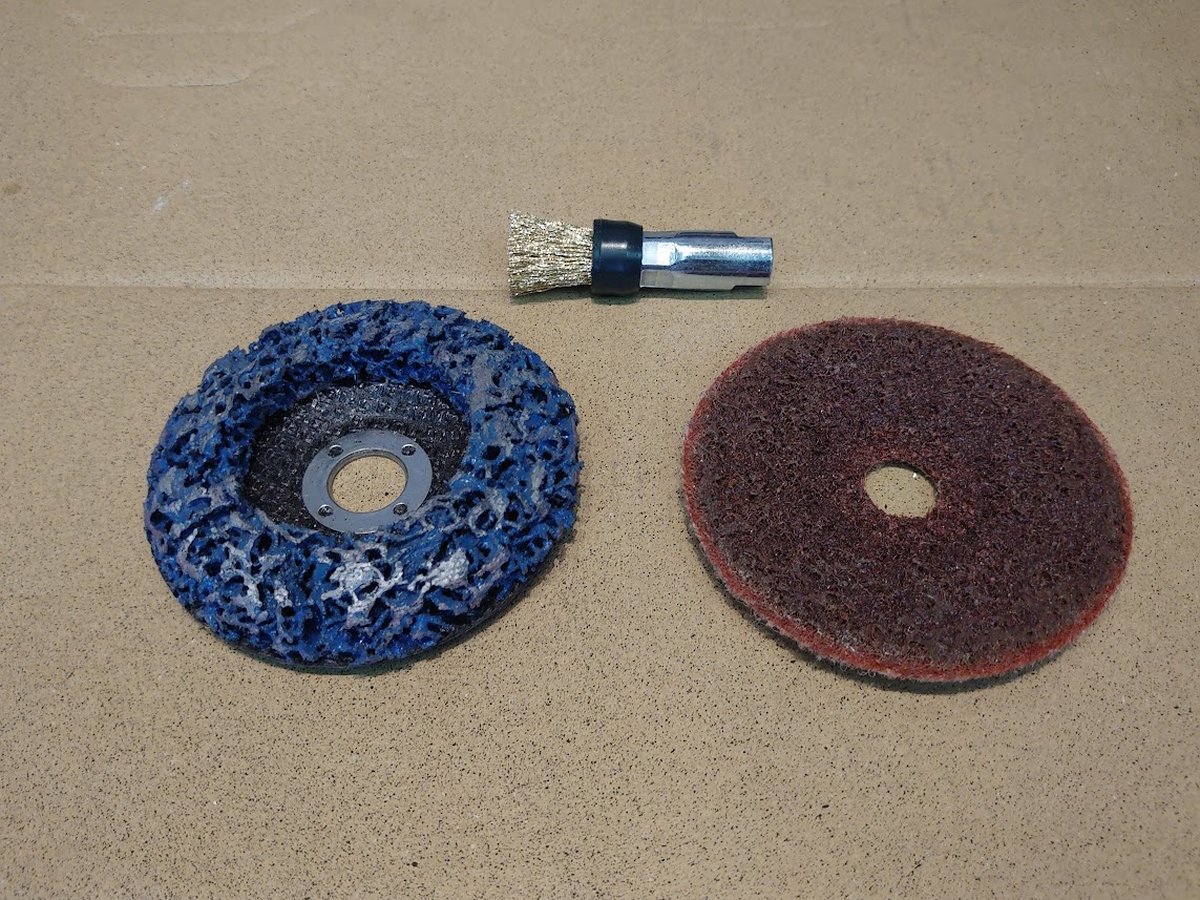
Grinding tools for grinders
Grinding with a grinder
Also, at first, I used a powerful grinder with an unchangeable rpm, but it was heavy and difficult to handle, and I inadvertently cut too much, so I bought a cheaper grinder with an adjustable rpm in the middle of the process. As a result, the cheap grinder was lighter and easier to work with.
After grinding as much as possible with a grinder, I sandblasted only those areas where even a fine wire brush could not get in. I did not use a cabinet that I had made myself but hung a white sheet (made of the same material as a blue sheet) in the carport to create a completely small room, into which I entered wearing a dust mask to do the work. Although not recommended, this method allows you to sandblast even large items, and the media can be almost completely recovered. However, since the media can get into one’s clothes, it may be better to use disposable non-woven work clothes.
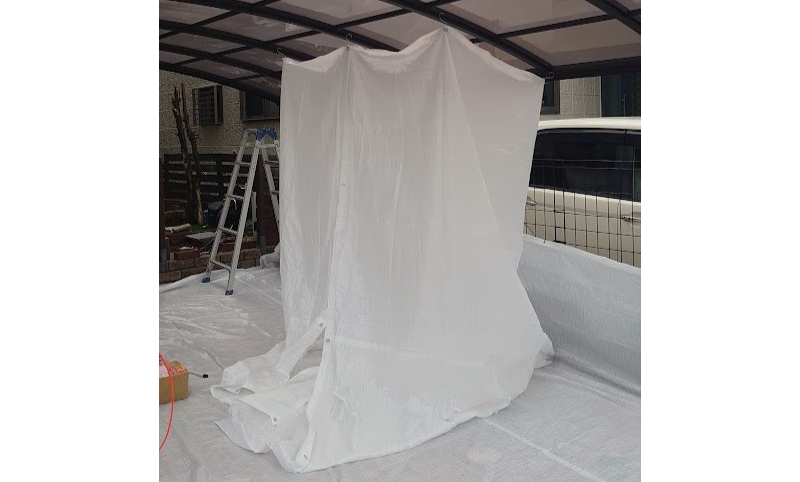
Large-scale sandblasting
After removing all the paint from the wheels, wash them in water with mild detergent and attach a wire for hanging at the air valve.
Before painting hybrid primer
Painted with a gun coat
To improve paint adhesion and red coloration, a white hybrid primer for a gun coat is applied and lightly baked at 120℃. A simple oven, which is also used for painting brake calipers, is used for this process.
After that, I painted it with gun coat satin red and baked it at 180°C for 1 hour. When I peeled off the masking of the hub, I found that sand, the media of sandblasting, had gotten inside through the gaps in the masking. In addition, the seals of some of the bearings were damaged by the heat. I knew I should have removed the bearings before doing this series of work.
Parts with media adhered
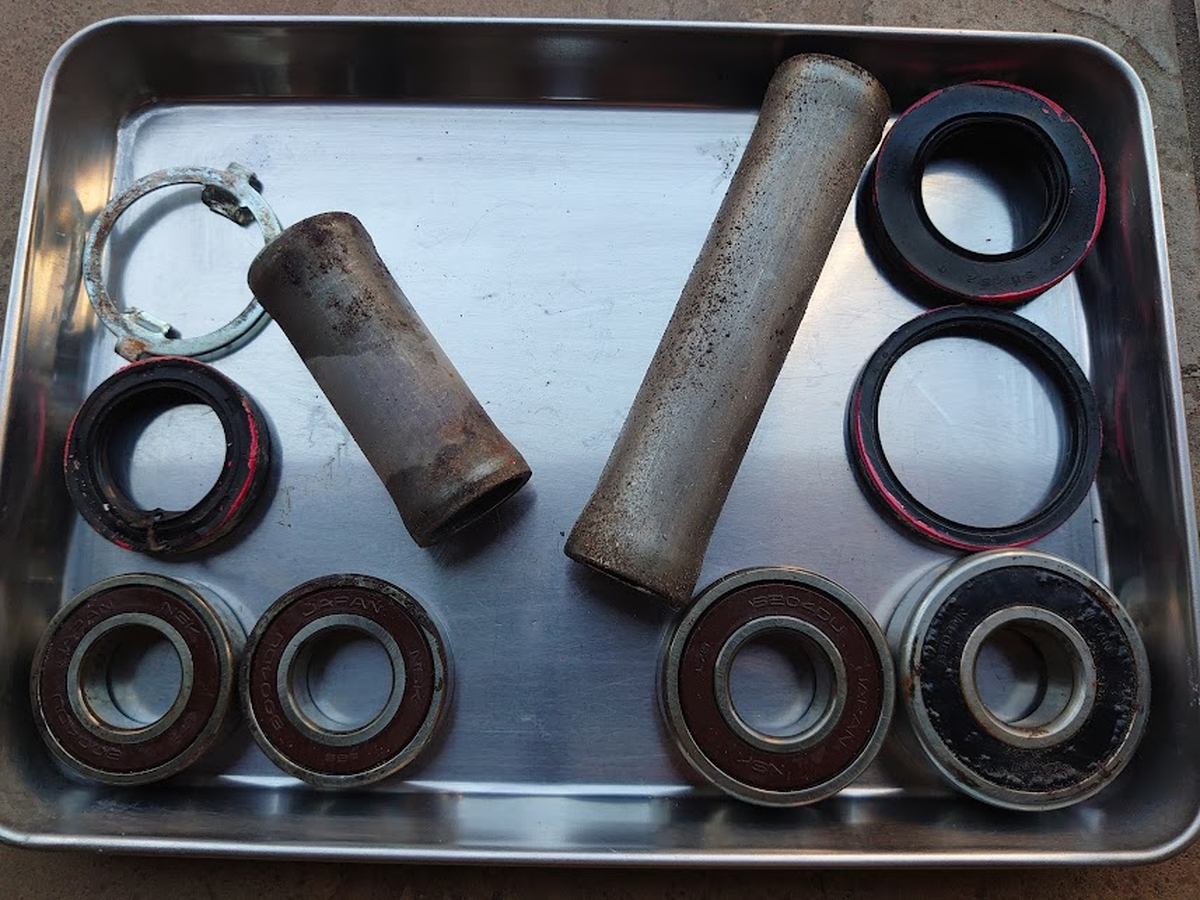
Fortunately (?) wheel bearings were ordered immediately because all the genuine parts were available. While waiting, the bearings were pulled out using a bearing puller and cleaned again.
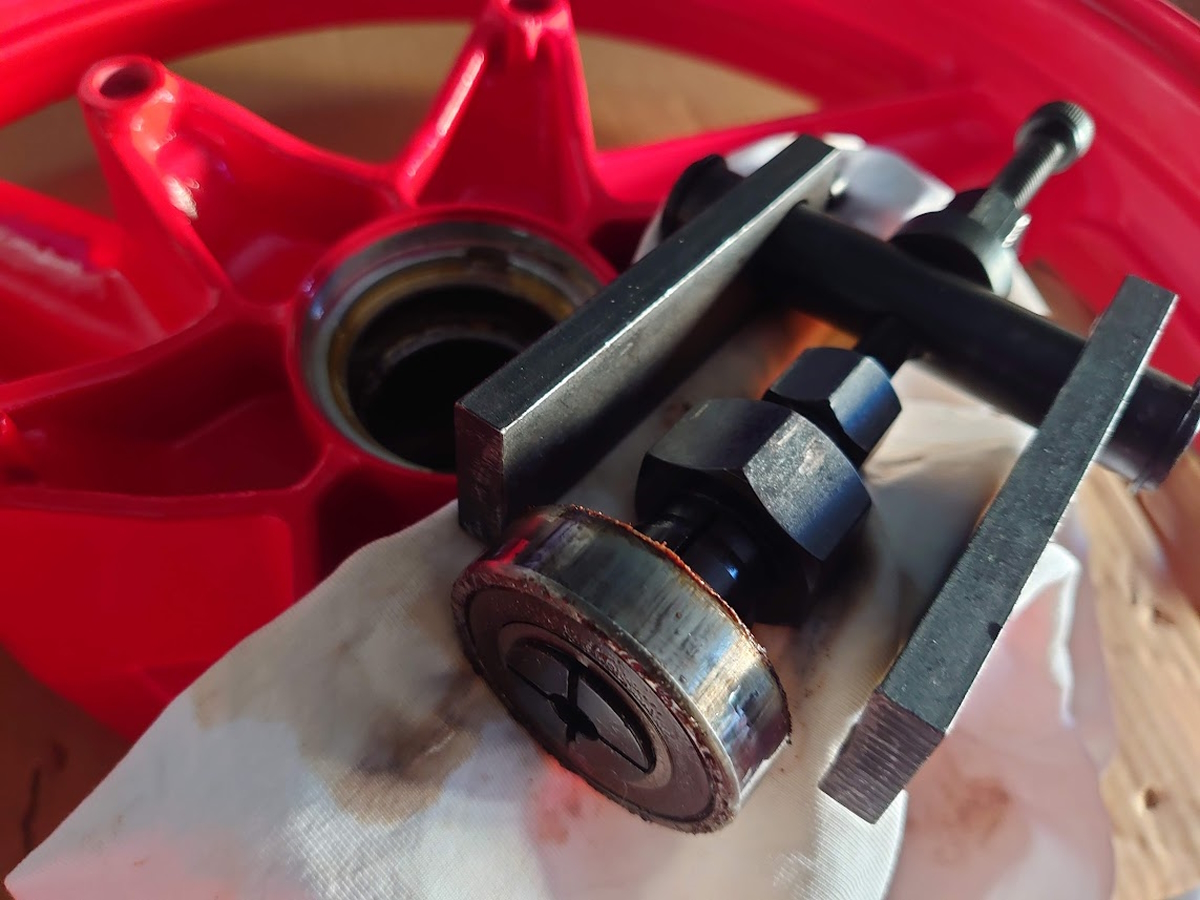
Bearing pulled out with a bearing puller
Additional painting and baking are being performed for areas where paint was chipped or missed when the puller was used.
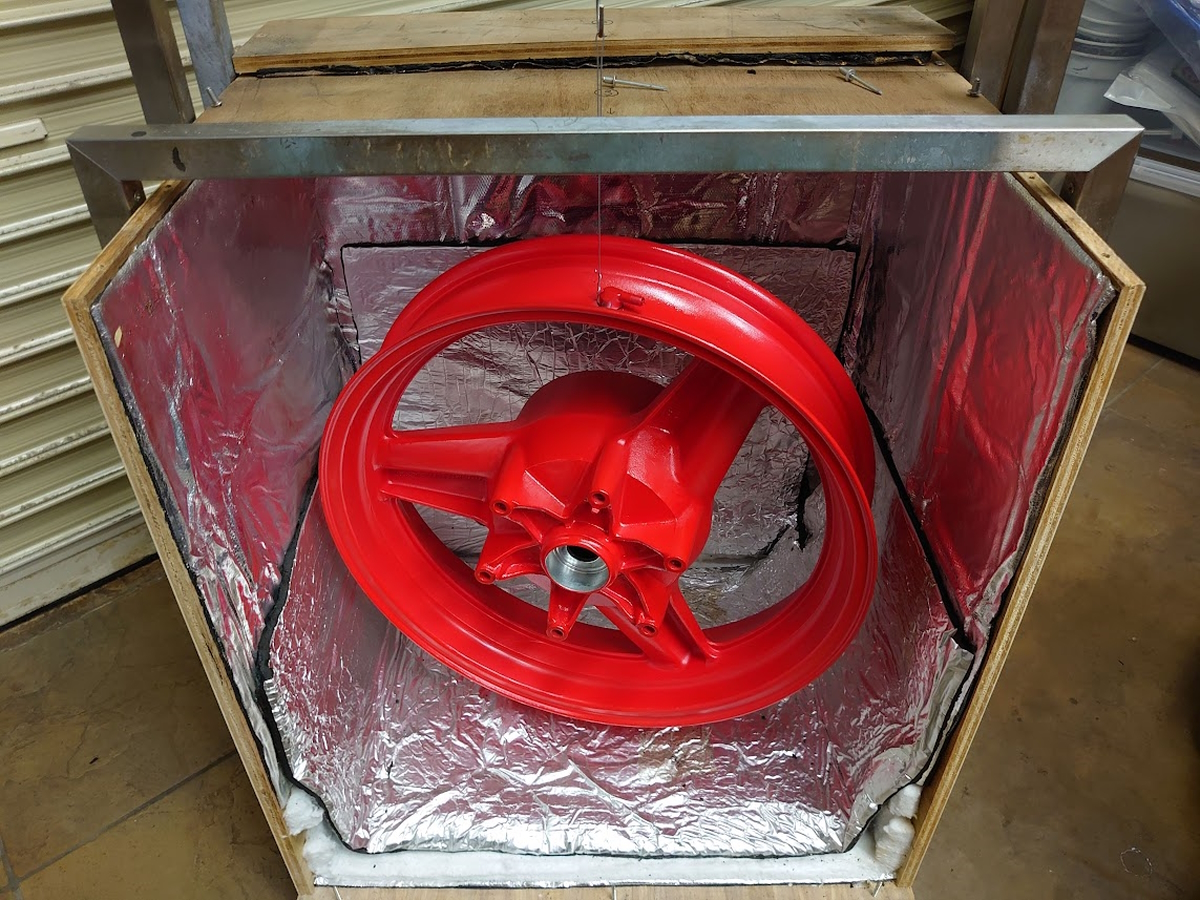
Wheel baking
Parts such as the distance collars, which are used to keep the distance between the wheel bearings, are also rusted out and polished, and gun coated.
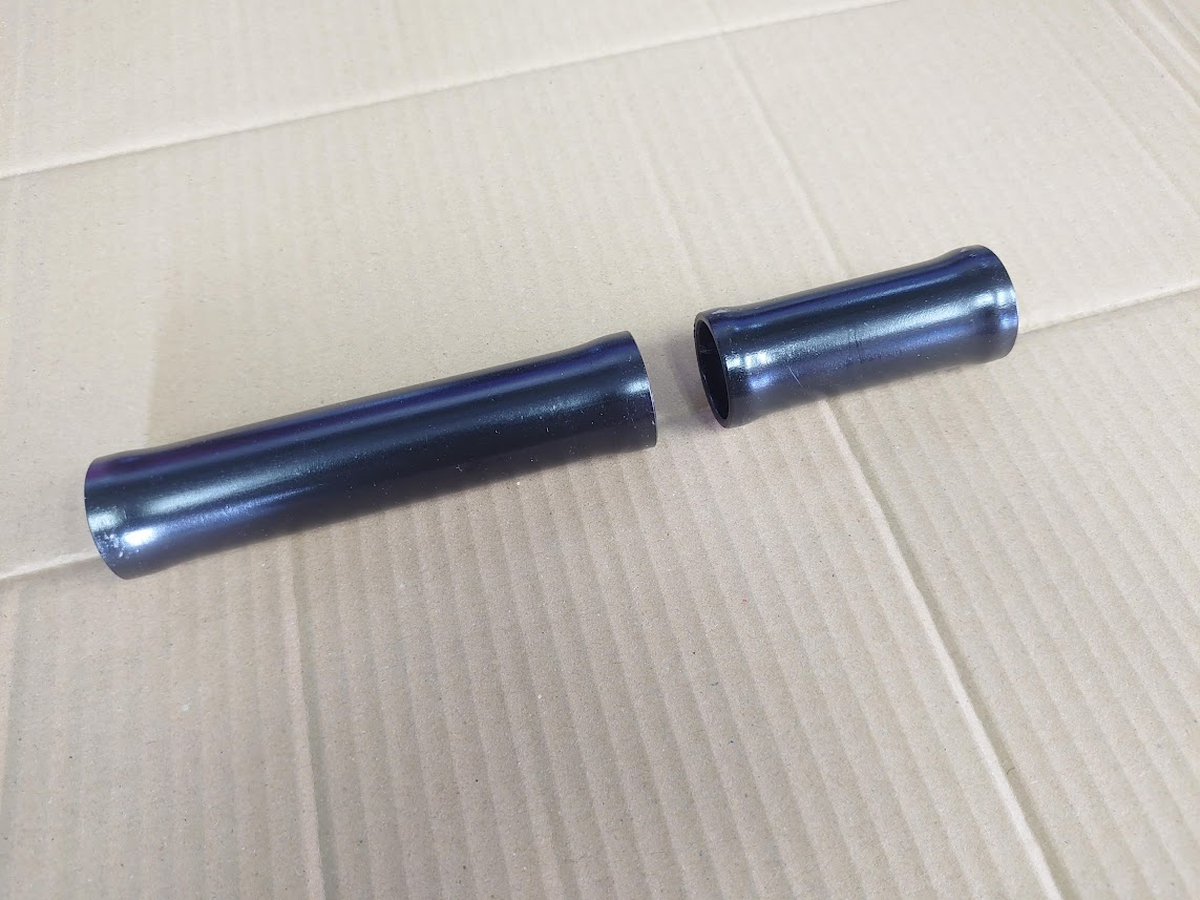
Pre-painted distance collar
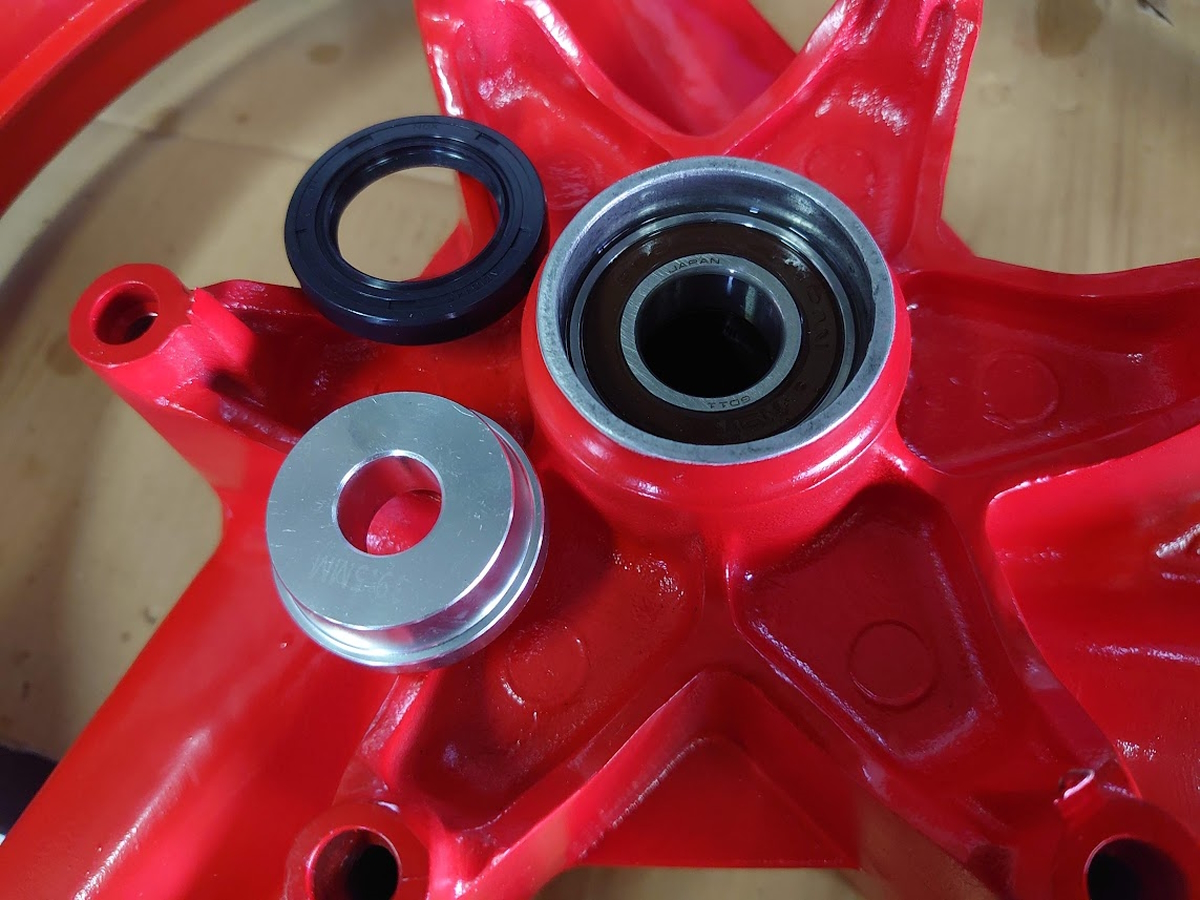
We also purchased a bearing seal driver to ensure that the bearings were hammered in.
After obtaining the bearings, I checked the service manual and hammered the response-sprayed bearings into the wheel hubs. Some people seem to be able to hammer it in without using a seal driver, but I am not very good with a hammer, so I used it honestly.
Bearing Shield Driver
I thought about mounting the tires myself, but it would be sad if the paint chipped off due to tire levers or something, so I asked a local tire shop to mount and balance the wheels and the wheel refurbishing process was complete.
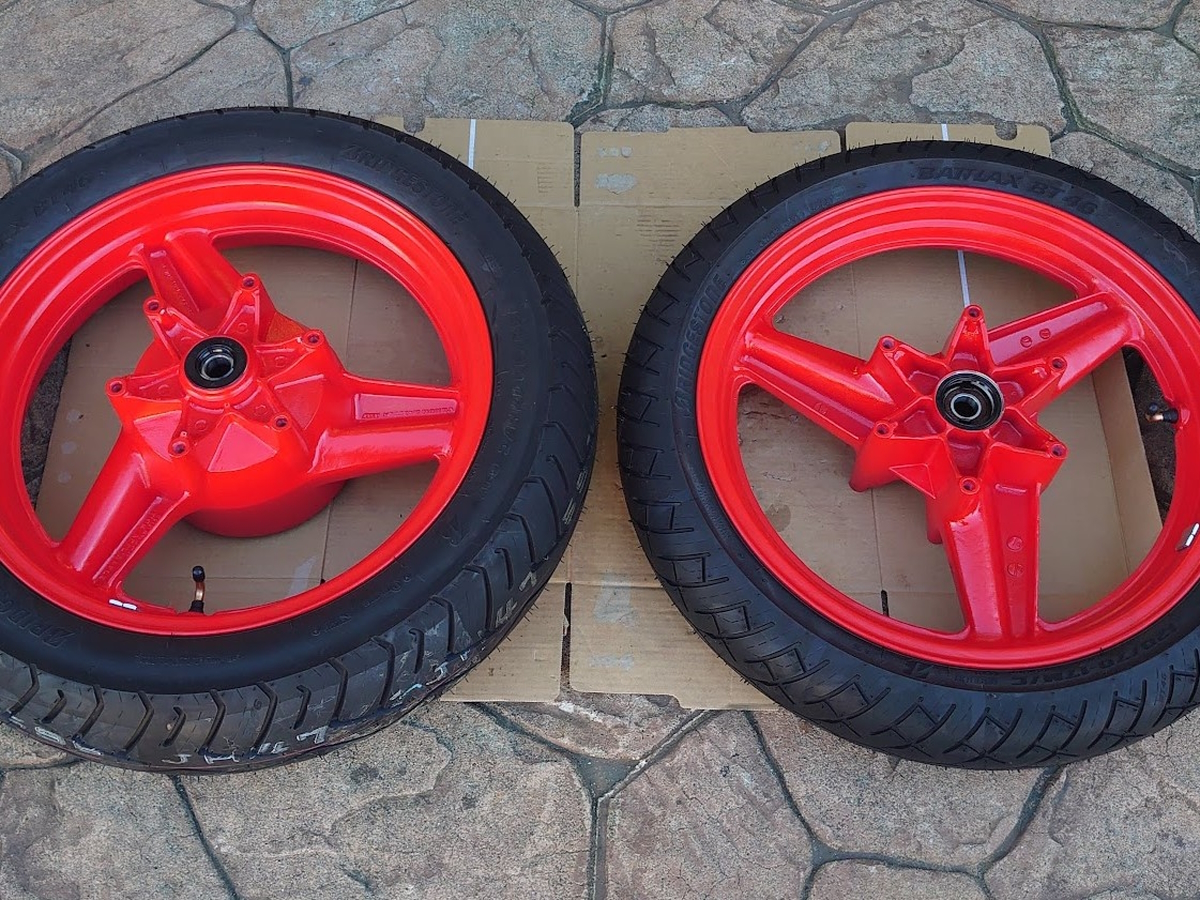
Tire installation complete
Work Summary
We have rebuilt aluminum wheels with chipped and rusted paint.
We found that it is best to remove the wheel bearings before sandblasting or high-temperature baking paint.
Paint removal from wheels can be completed in a short time by using a grinder equipped with an abrasive pad or similar tool. (Using a stripper might have been an option.)
It was difficult to sandblast large parts in a homemade cabinet with a clear case. To sandblast large items, a small room method with a sheet suspended in the carport is an option.
When applying the gun coat red, a white hybrid primer was used as the base coat, which gave good color and a clean finish.
When hammering in the bearing, I used a seal driver and was able to hammer it in successfully.
That is all.
I made a lot of mistakes, but in the end, I managed to regenerate it beautifully, and I was able to increase what I could do a little. It was fun because I was able to increase the number of things I could do. Next time, I will try to overhaul the front fork, which is quite rusty.
Tools and equipment used
Compressor
Drainage filter
Suction-type sandblasting gun
Sandblasting media (alumina No. 80, 10 kg)
Plastic bucket for suction media
Large clear case
Plastic flowerpot
Long rubber gloves
Large sheets
Grinder with variable speed function
Grinder grinding pads, etc.
Wire brushes for grinding grinders
Bearing pullers
Bearing seal driver
Hybrid primer for a gun coat (white)
Gun coat (satin red, satin black)
Self-built simple oven
Heat gun
Raspene
Plastic hammer
Dust mask
Gas mask
Wire
Purchased Parts
Wheel bearing set
Dust seal set
Air valve
Front and rear OEM-size tires